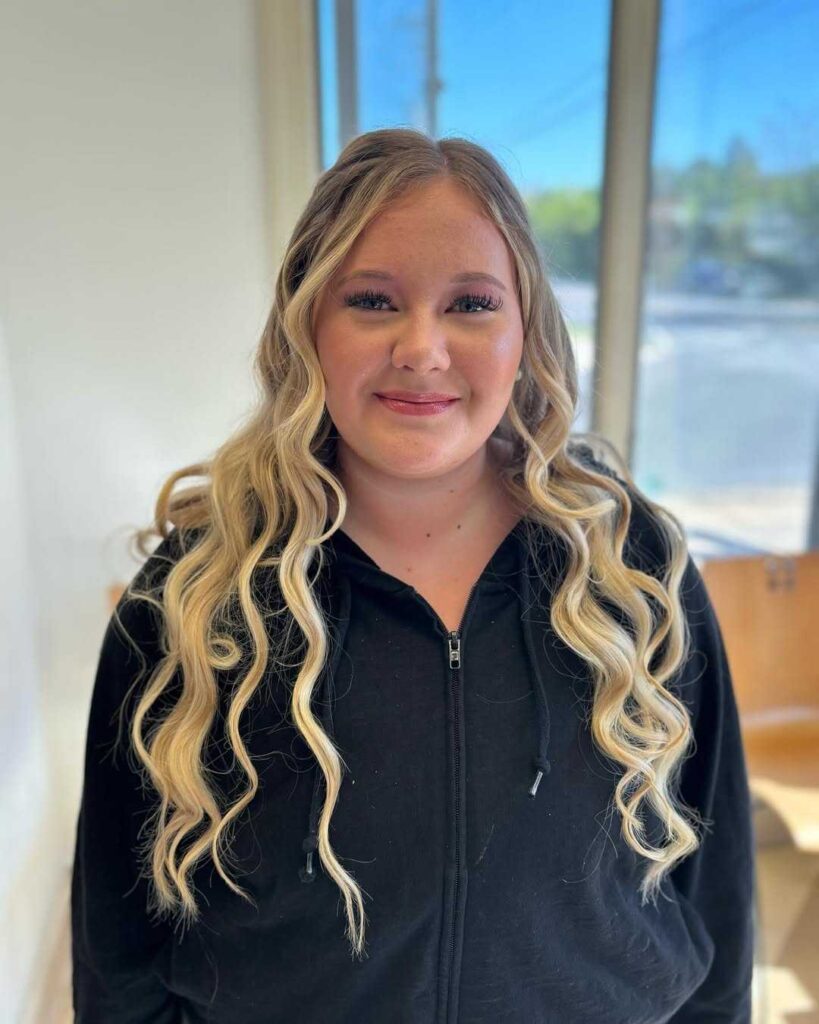
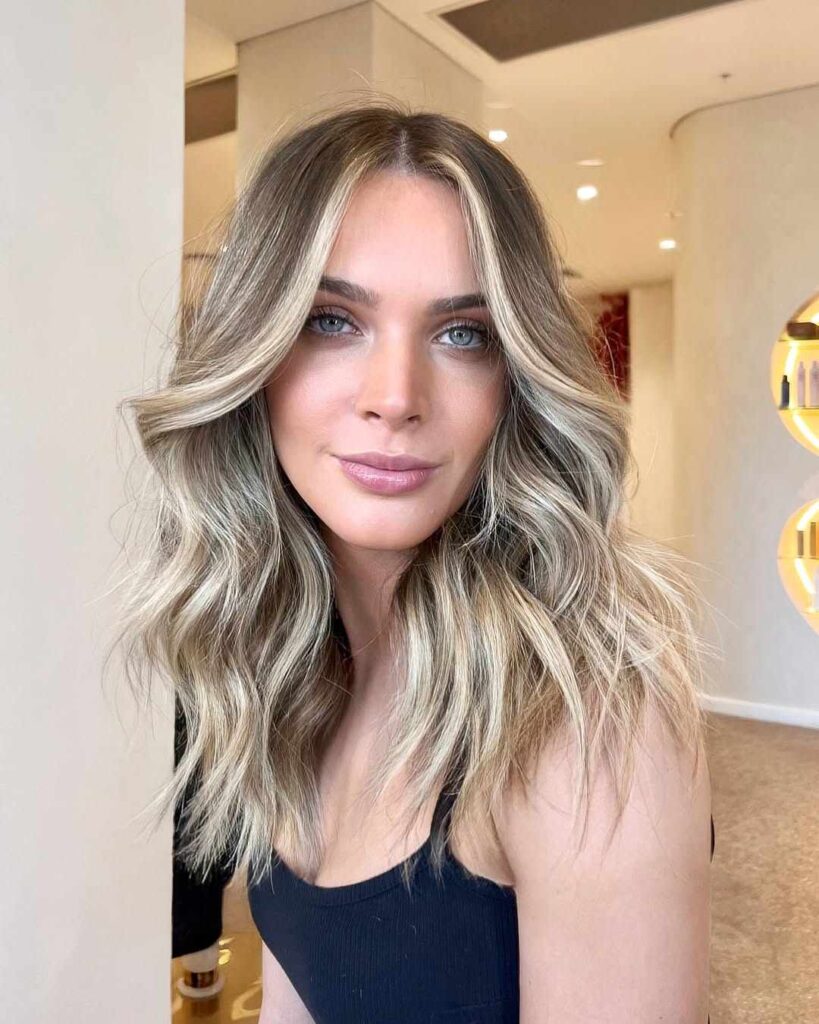
12 Effortless Wavy Hairstyles Busy Moms Can Rock All Week
Okay, fellow chaos coordinators! Can we just agree that some mornings, the idea of wielding hot styling tools while simultaneously negotiating with a pint-sized dictator about mismatched socks feels like a task for a superhero? Yep, I’m right there with you. Life as a busy mom means time is precious, sleep is a distant memory, and an hour primping? That’s basically science fiction. But here’s the good news: you can absolutely flaunt effortless wavy hairstyles all week long, and I’m about to share all my hard-won secrets. Trust me, as someone whose beauty routine is frequently interrupted by urgent calls of “Mommy, I need…!”, I’ve become something of a guru in quick-win, big-impact hair. So, top off that lukewarm coffee, and let’s dive into making your mane magnificent with next to no drama.
[12 Effortless Wavy Hairstyles Busy Moms Can Rock All Week]
You can officially stop scrolling through those Insta-reels showing styles that demand a degree in hair architecture and a small fortune in products. We’re zeroing in on simple, doable, and honestly, sometimes achievable when you’re barely awake. Feeling ready to take back your tresses?
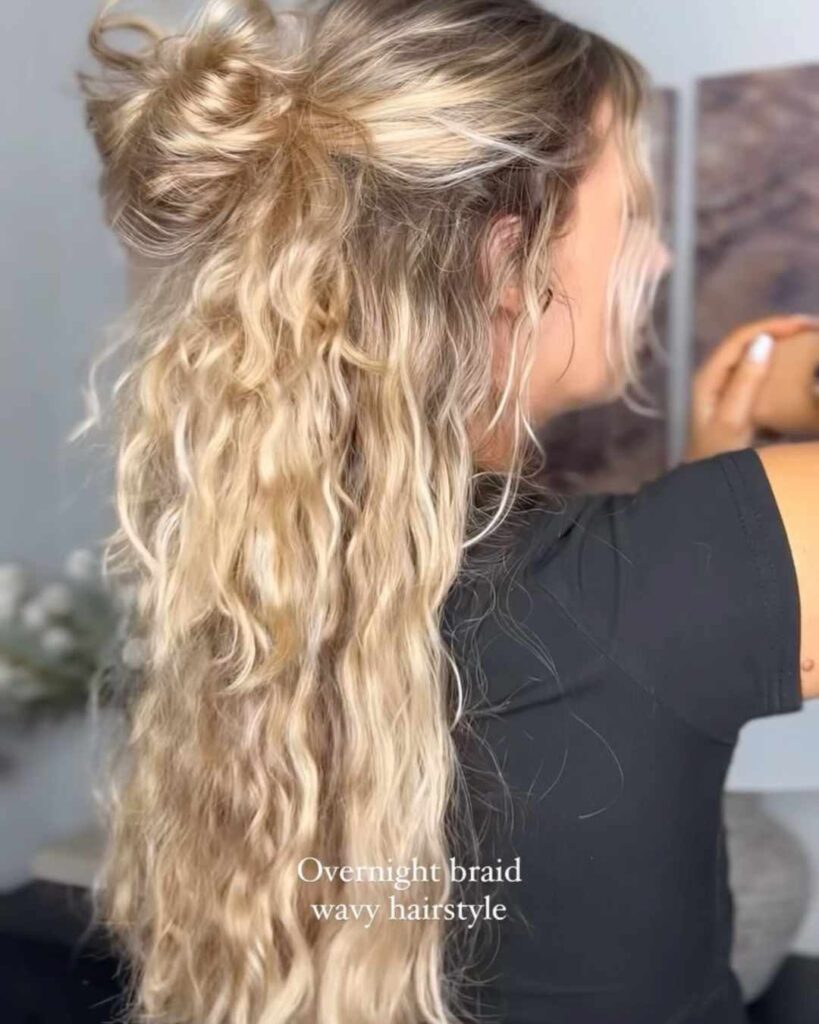
1. The “Beauty Sleep” Special: Overnight Braid Waves
First up, let’s talk about an absolute legend: overnight braid waves. If this isn’t in your playbook yet, you’re missing out! It’s the cornerstone of heat-free waves, beloved because it’s almost too easy and the payoff is consistently awesome.
How This Sorcery Unfolds
The steps are so straightforward, you could probably walk your kid through it (though, maybe stick to doing it yourself for best results).
- Give your hair a wash in the evening, or just mist it with water from a spray bottle. Aim for damp, not drenched, unless you fancy waking up with a “still-wet, slightly funky” situation.
- Work in a little mousse or a smoothing leave-in for some staying power and softness.
- Plait your hair. A single, loose braid generally yields gentle, mermaid-like waves. If you’re after something more defined or crimped, try two or more. My personal preference is usually two French braids that begin high up; I find this gives a more even wave from root to tip.
- Fasten the ends with a soft hair tie – the kind that won’t leave that annoying indentation.
Settle in for the night. Perhaps you’ll dream of sleeping in (we can all hope, can’t we?). Come morning, carefully unbraid, give your hair a good fluff, and if you desire a bit more staying power, a quick spritz of light-hold hairspray does the trick. Ta-da!
Why It’s a Mom-Must
This style genuinely puts in the work while you’re off in dreamland. Peak results for practically zero active time? Yes, please! An added perk: it keeps your hair neatly tucked away all night. I swear by this for those Monday mornings when the week hits like a freight train.
2. Twirled Bun Waves: The Happy Accident Hairdo
Have you ever casually twisted your damp hair into a bun to keep it off your neck, only to release it hours later and discover some surprisingly chic waves? That, my friends, is the magic of twisted bun waves. We’re just going to harness that accidental brilliance.
Decoding the Method
This is another stellar option for overnight styling.
- Begin with hair that’s damp. Remember, not sopping!
- Separate your hair into sections and twist them – I find two or three larger sections work best.
- Wind each twisted piece into a mini bun, securing it with bobby pins or a gentle scrunchie. Keep them on the looser side; too tight, and you might trade waves for a tension headache.
- Let them set while you sleep, or if you’re styling by day, allow a few hours as you power through your to-do list.
The Busy Parent Perk
This approach often results in softer, more voluminous waves compared to braids, particularly if you position the buns higher on your crown. And let’s be honest, the little buns can look rather sweet if you need to make an emergency dash for school drop-off before the grand “unveiling.” My little one once declared them my “space princess buns,” and far be it from me to correct her.
3. Headband Waves: The “No Ties, No Problem” Technique
This might feel like a blast from the past, but headband waves are remarkably effective and super kind to your strands. All you need is a soft, stretchy headband.
Wrap Your Head Around This
- Pop a soft, elasticated headband onto your head, positioning it across your forehead and around, bohemian-style.
- Taking sections of your damp hair, starting near your face, loop them up, over, and tuck them around the headband. Keep wrapping sections until all your hair is neatly wound around the band.
- The “during” phase might look a tad… unconventional. Just lean into it. My partner usually gets a good chuckle out of my “headband helmet.”
- Allow it to dry completely (overnight is ideal). Gently unroll your hair, and you’ll greet some lovely, soft undulations.
Why You’ll Adore It
The biggest win? No tell-tale crimps from hair elastics! That alone is a major plus. It also tends to create beautiful waves that frame your face perfectly. This is a fantastic alternative if you find braids a bit lumpy to sleep on. It’s surprisingly comfy, and the outcome is consistently pretty.
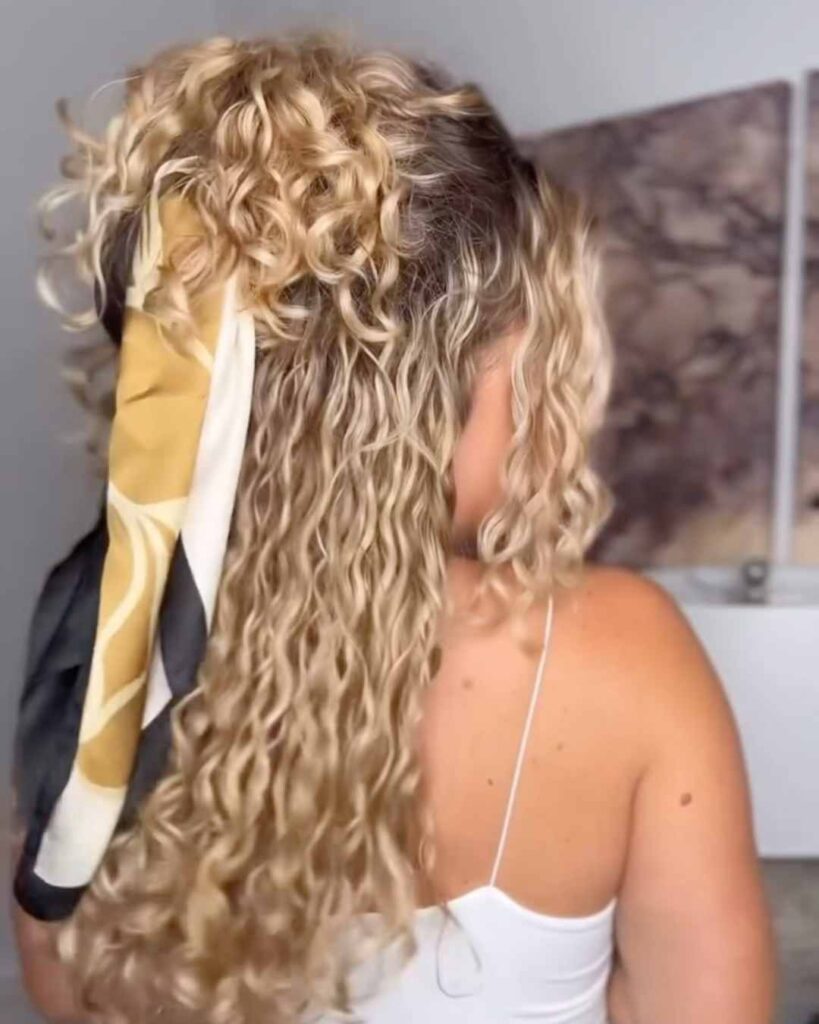
4. Scarf Curls: The Frizz-Fighting Marvel
Much like headband waves but employing a silk or satin scarf, scarf curls (or waves, varying with your hair’s personality) are brilliant for keeping frizz at bay. That silky texture makes a world of difference, FYI.
The Smooth Move
- Take a long silk or satin scarf and fold it into a band.
- You’ve got options: either tie it like a headband and wrap your hair around it (as in the method above) OR integrate it as the “third strand” when you braid.
- For the braiding technique: Part your damp hair into two main sections. At the top of one section, position the middle of the scarf. Use the two ends of the scarf as two of your braiding strands, and your hair as the third. Braid away. Mirror this on the other side.
- The silk works wonders to smooth down the hair cuticle while it dries.
The Mom-Life Advantage
Significantly less frizz and incredibly soft waves are the key benefits here. If your hair often has a mind of its own or gets easily static-charged, consider this method your new secret weapon. Besides, you likely have a scarf tucked away somewhere, don’t you?
5. The Pineapple Stack: Your Second (and Third) Day Savior
Alright, you’ve successfully created some beautiful waves using one of the aforementioned techniques. The next challenge: making them last. Cue the pineapple. And no, I’m not suggesting you wear fruit on your head, though a healthy snack is never a bad call.
Guarding Your Gorgeous Waves
This isn’t a wave-creation step, but rather a crucial one for keeping them looking good overnight.
- Just before you hit the sack, sweep all your wavy hair up into an extremely loose, high ponytail, positioned right at the crown of your head.
- Secure this with a soft scrunchie – silk or satin are your best bets here to minimize breakage and frizz.
- Yes, you will somewhat resemble a pineapple. It’s a functional fashion statement. A very, very functional one.
When you wake up, gently release your hair, give it a light shake from the roots, and your waves should have survived the night largely unscathed.
Why It’s a Sanity-Saver
This clever trick stops your waves from being flattened and matted as you toss and turn. It’s an absolute game-changer for extending the lifespan of your style, translating to less styling time for you throughout the week. More moments for that coffee!
6. Rope Braid Waves: Adding a New Twist
If you feel that standard braid waves sometimes look a tad too “zig-zaggy” for your liking, rope braid waves can provide a slightly different, more spiral-esque undulation.
The Simple Spin
- Begin with hair that’s damp.
- Divide your hair into two main portions.
- Take one portion and split it into two smaller strands. Twist both these strands individually in the same direction (for example, both towards the right).
- Next, wind these two already-twisted strands around each other, but in the opposite direction (so, towards the left). It sounds more complex than it actually is, I assure you!
- Secure the end. Do the same for the other main portion if you’re creating two rope braids.
- Let your hair dry completely.
What’s the Point of the Twist?
The waves you get are often looser and possess a more “effortlessly chic” feel than those from traditional braids. I find they have a really lovely, natural movement. It’s a subtle variation, but sometimes that’s precisely what you need to refresh your look.
7. The “I Definitely Woke Up Like This” Refreshing Mist
Some mornings, your waves don’t need a complete overhaul, just a little encouragement. This is where a quality refreshing mist becomes invaluable. It’s less a styling technique and more a vital part of keeping those waves looking fresh all week.
Revitalize and Rock It
You can purchase pre-made wave refreshing sprays, or you can easily whip up your own.
- DIY Wave Reviver: In a spray bottle, combine mostly water with a small amount of your favorite leave-in conditioner and a tiny pinch of sea salt spray (go easy, as too much can be drying). Some folks like to add a drop or two of a pleasant essential oil, like lavender.
- Gently mist your hair, give it a light scrunch with your fingers, and allow it to air dry.
This helps to reawaken the wave pattern and tackle any emerging frizz or flatness.
The Sheer Genius
This takes approximately 30 seconds. Thirty. Whole. Seconds. Even on the most whirlwind of mornings, you can squeeze that in. It’s ideal for Day 2, 3, or even Day 4 hair, enabling you to prolong your style and cut down on excessive washing.
8. High Bun Waves: Volume Where You Want It
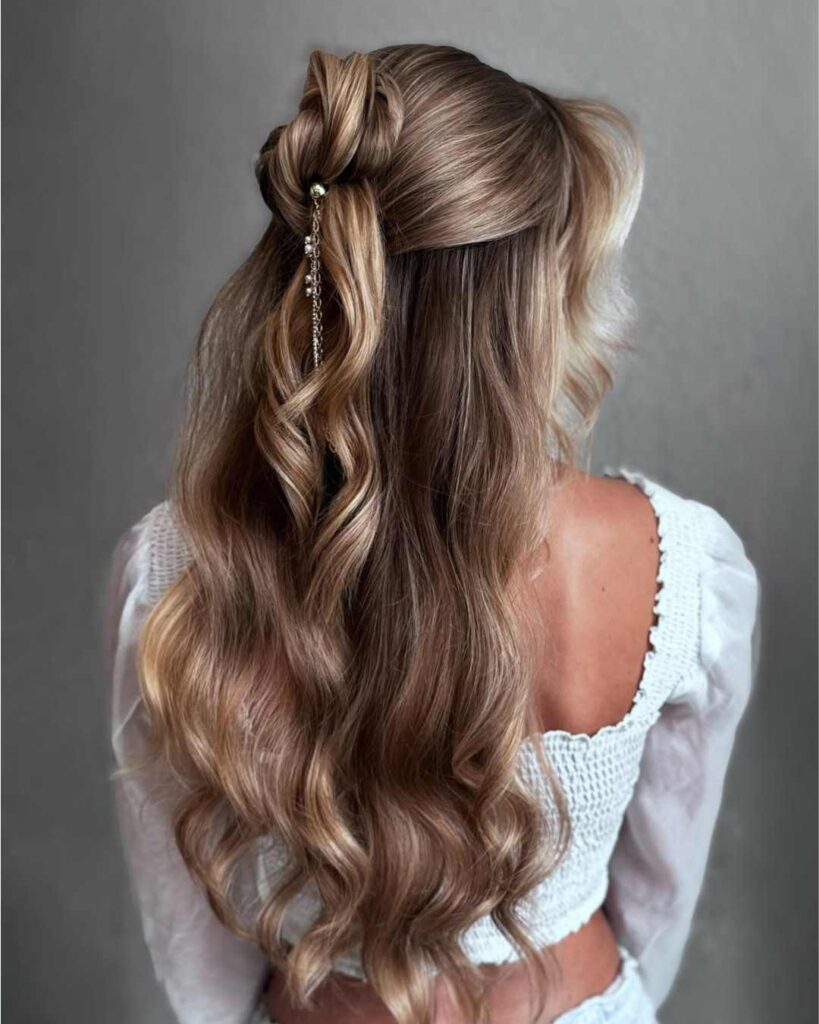
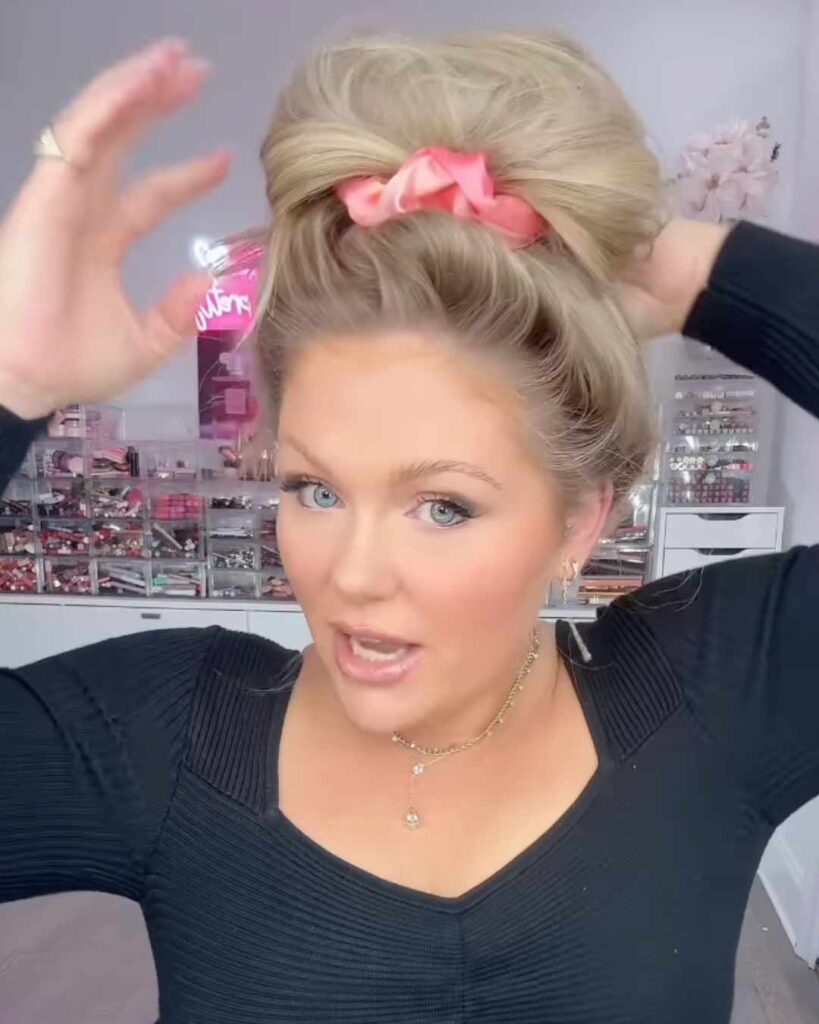
Similar to the twisted bun waves, but by concentrating on a single, higher bun, you can achieve fantastic volume at the crown alongside soft waves flowing through the lengths of your hair.
Aiming High (Literally)
- With damp hair, gather it all as if you’re making a high ponytail.
- Twist this ponytail and then coil it into a bun. Secure it, but not too tightly, using a soft scrunchie or some spin pins. The key here is loose – an overly tight bun can cause a headache and result in less natural-looking waves.
- Allow it to dry fully, preferably while you sleep.
Why It Lifts More Than Just Your Hair
That high placement really works to boost the roots, which is a blessing if your hair typically lies flat. When you let it down, you’re greeted by that lovely soft wave coupled with a bit of extra oomph right where you want it. It’s a sneaky little confidence enhancer!
9. Sock Bun Waves: Seriously, Give It a Go!
Ah, the somewhat notorious sock bun waves. It sounds a bit quirky, I grant you. But believe it or not, it genuinely works to fashion beautiful, springy curls or waves, with the outcome depending on how snugly you roll.
The Sock Solution
- You’ll require a clean sock, with the toe section snipped off. Roll this sock up into a donut shape.
- Gather your (mostly dry or just slightly damp) hair into a high ponytail.
- Thread the ponytail through the center of your sock donut. Then, begin tucking and rolling the ends of your hair around the sock, progressively rolling the sock down towards your scalp, incorporating more hair as you descend.
- Once you’ve reached your scalp, you’ll have a tidy little sock bun. Use pins to secure it if it feels loose.
- Leave this creation in for several hours, or ideally, overnight.
Mom-Tested, Parent-Approved (Mostly)
Full disclosure: my initial attempt at this years back produced something that could have rivaled an 80s poodle perm. The secret lies in not rolling too tightly and ensuring your hair is only faintly damp, never wet. When you nail it, the result is gorgeous, fairly uniform waves. Practice makes perfect, or at least, less poodle-esque! 😉
10. French Braid Waves: Definition From Root to Tip
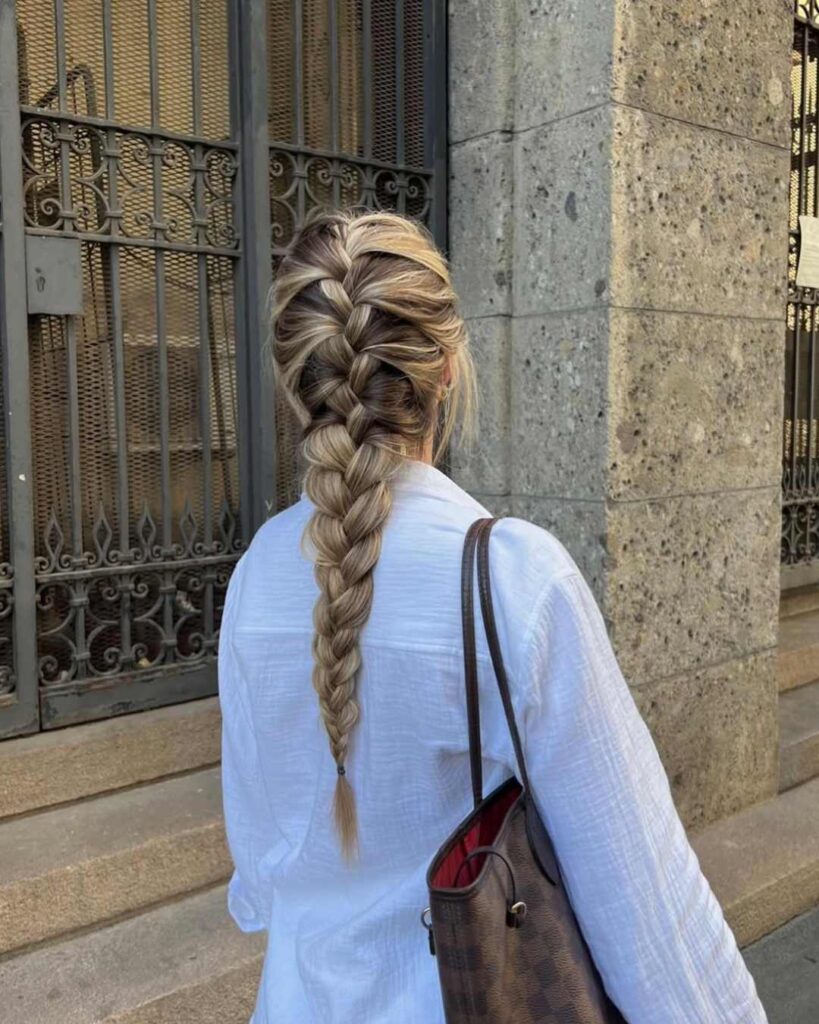
If your goal is waves that commence closer to your scalp and exhibit a more consistent, defined character, then French braid waves are precisely what you need.
The Gallic Connection
- This technique works best on hair that’s damp.
- Begin a French braid (or make it two, for a more abundant wave pattern) starting right from the crown of your head, weaving in hair as you progress downwards.
- Braid all the way to the very ends and secure them.
- Let it dry completely.
Why Opt for French?
Unlike standard braids, which can sometimes leave the top of your head looking a bit flat, French braids ensure the wave pattern initiates directly from the roots. This yields a more voluminous and harmonized appearance throughout your hair. It does require a tad more dexterity than a simple plait if you’re not a braiding aficionado, but the impressive results often justify the effort.
11. The “Almost No Time” Wand Wave Refresh
Yes, yes, I know the theme is effortless and predominantly heat-free. But let’s be practical: occasionally, you’ve got exactly five minutes and crave a little extra polish. A swift wand wave touch-up isn’t about meticulously curling your entire head; it’s about strategic enhancement.
Targeted Polish
- This is for those second or third-day waves that have lost some of their verve in noticeable spots.
- Warm up a curling wand or tong (a wider barrel will give you looser, more relaxed waves).
- Quickly wrap just a few key face-framing strands or any sections that look particularly droopy around the barrel for a mere few seconds. Avoid holding for too long; we’re aiming for a revival, not tight corkscrews.
- Think about 5-6 sections max. That’s all.
The Pragmatist’s Pick
Sometimes, a brief encounter with heat is the quickest route to looking instantly more composed. We’re talking minimal minutes for maximal visual return. I deploy this when my overnight waves are “decent” but could use a little nudge to look “intentionally fabulous.” It’s all about smart work, not hard work.
12. Dry Shampoo + Texturizing Spray: The Styling Power Couple
This isn’t a wave-<em>making</em> method per se, but it’s the absolute key to revitalizing, boosting volume, and imparting texture to already existing waves, or even just slightly wavy hair, making it appear more deliberately styled. This is my ultimate “I have precisely zero minutes, but must avoid looking like I’ve been dragged through a hedge backward” strategy.
The Two-Step Hair Rescue
- Step 1: Dry Shampoo. Even if your hair isn’t noticeably oily, apply dry shampoo to your roots. Lift sections of hair and spray directly underneath. This not only absorbs any oil but also adds incredible volume.
- Step 2: Texturizing Spray. Lightly mist a texturizing spray (or a sea salt spray if that’s your preference) through the mid-lengths and ends of your hair. Gently scrunch it with your hands to encourage movement.
- Flip your hair upside down, give it a vigorous but gentle tousle, and then flip it back.
Why This Combo Is Pure Gold
This dynamic duo infuses grit, lift, and that perfectly imperfect, artfully disheveled look that just radiates “effortless cool.” It can take limp, uninspired, day-three (or let’s be honest, day-four) waves and completely rejuvenate them. Frankly, some days, this is my entire hairstyle. And I’m perfectly okay with that. It’s truly amazing what a couple of well-chosen products can achieve, IMO.
Waving Goodbye to Hair-Related Headaches
And there you have it – 12 genuinely low-effort wavy hairstyles that any on-the-go mom can totally master. The aim here isn’t to achieve salon-level perfection every day; it’s about discovering what clicks for you, your unique hair, and your even more unique (and hectic!) schedule. Who needs a stylist appointment when you’ve got these clever tricks in your back pocket, am I right?
Remember, your hair is just one fabulous facet of you, and you’re already performing miracles juggling everything life throws your way. These styles are merely little helpers, designed to make you feel a bit more polished and confident without piling another complex chore onto your already full plate. Now, get out there and let those waves flow! I’m curious, which one are you eager to try first? Drop a comment – I’m always on the hunt for fresh ideas to simplify my own routine! 🙂
17 Trendy Short Curly Hairstyles to Rock All Summer
20 Irresistible Brown and Pink Hair Combos You Need to Try Now

