18 Best Wedding Hairstyles for Thin Hair That Add Volume
Wedding hairstyles for thin hair that add volume can transform fine strands into show-stopping bridal looks. You don’t want a wilted bouquet sitting on your head — same. I wrangle thin hair all the time, and I refuse flat photos or styles that collapse before cocktail hour. With the right prep and the right silhouette, fine hair plays big. Ready to stack volume like a pro? Let’s go.
Prep First: Lock In Lift (So Styles Don’t Collapse Later)
You build volume before the first pin. I wash with lightweight volumizing shampoo and keep conditioner from mid-lengths down. I towel-dry, then layer root-lifting spray, mousse, and heat protectant. I blow-dry sections straight up from the scalp and aim the nozzle down the shaft for smooth lift. I set the crown in Velcro rollers while I do makeup. Why fight gravity when you can recruit it?
My no-fail stack
- Root spray → mousse → heat protectant → dry texture for structure.
- Micro-tease the crown (only 1–2 inches at the root) and cover with a smooth top layer.
- Dry shampoo on clean hair for grit—yes, clean hair.
- Flexible-hold hairspray to set without helmet vibes.
Pro tip: I park a tiny crown pad under the top layer when I want guaranteed height. I hide it well, so it lifts without shouting, “Hey, I’m padding.”
1. Pinned-Back Half-Up (Easy Volume, Zero Fuss)
Pin the top back and leave soft waves around your shoulders. Build crown lift with micro-teasing and hide a small pad if you want more height. You keep movement and still sharpen your profile for photos.
2. Low Bun + Side-Swept Fringe
Create a neat bun at the nape, then sweep a fringe across the forehead. Loosen the crown slightly and pin in an X for grip. The side sweep adds softness and the bun conceals sparse spots.
3. Blunt Lob with Textured Waves
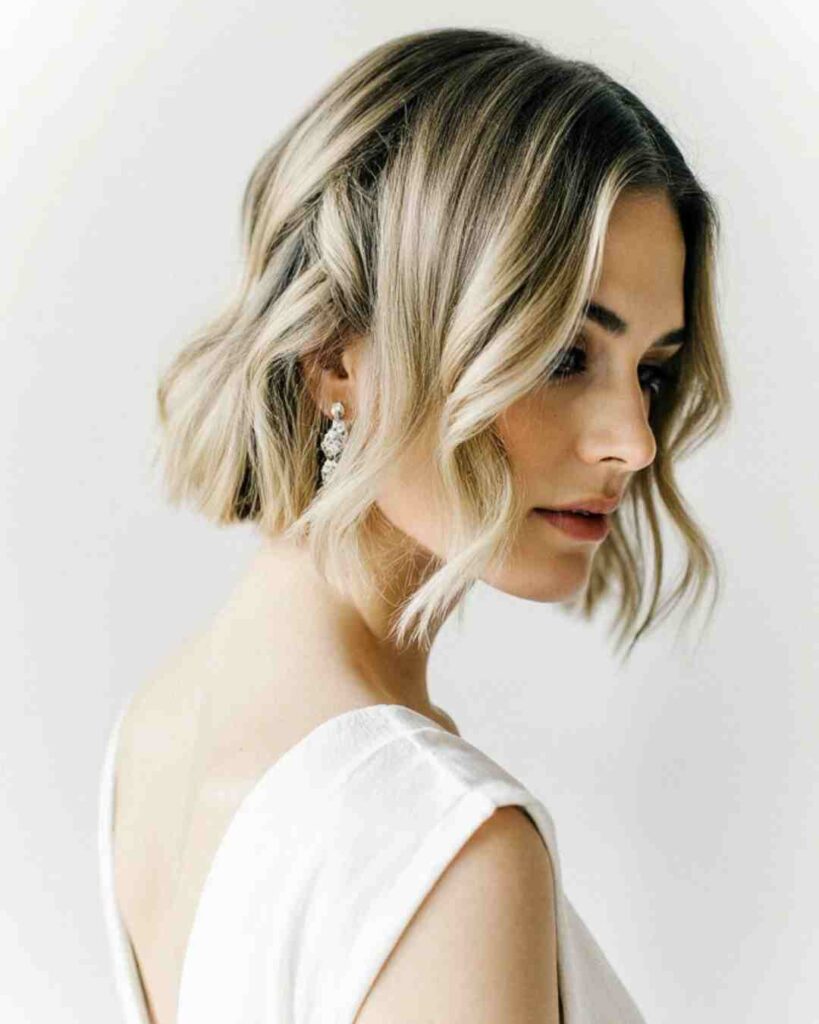
Cut the ends blunt to fake density, then add airy S-waves for movement. I flip the part off-center for instant crown lift. You get chic lines that read fuller on camera.
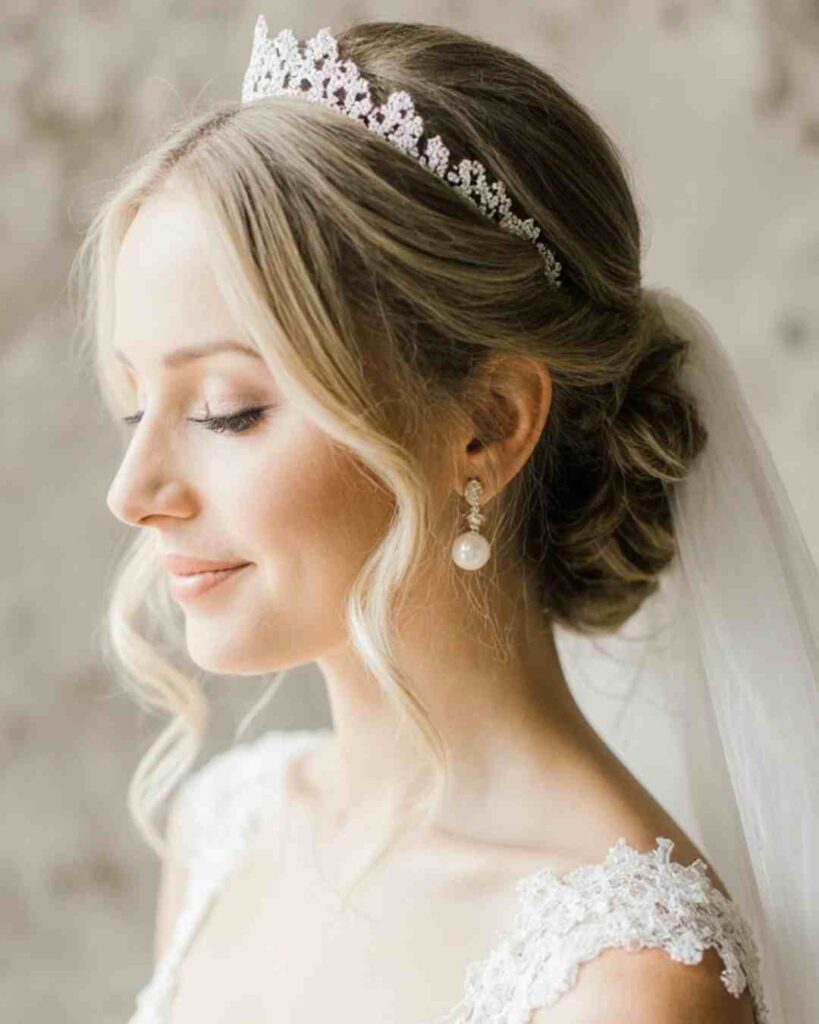
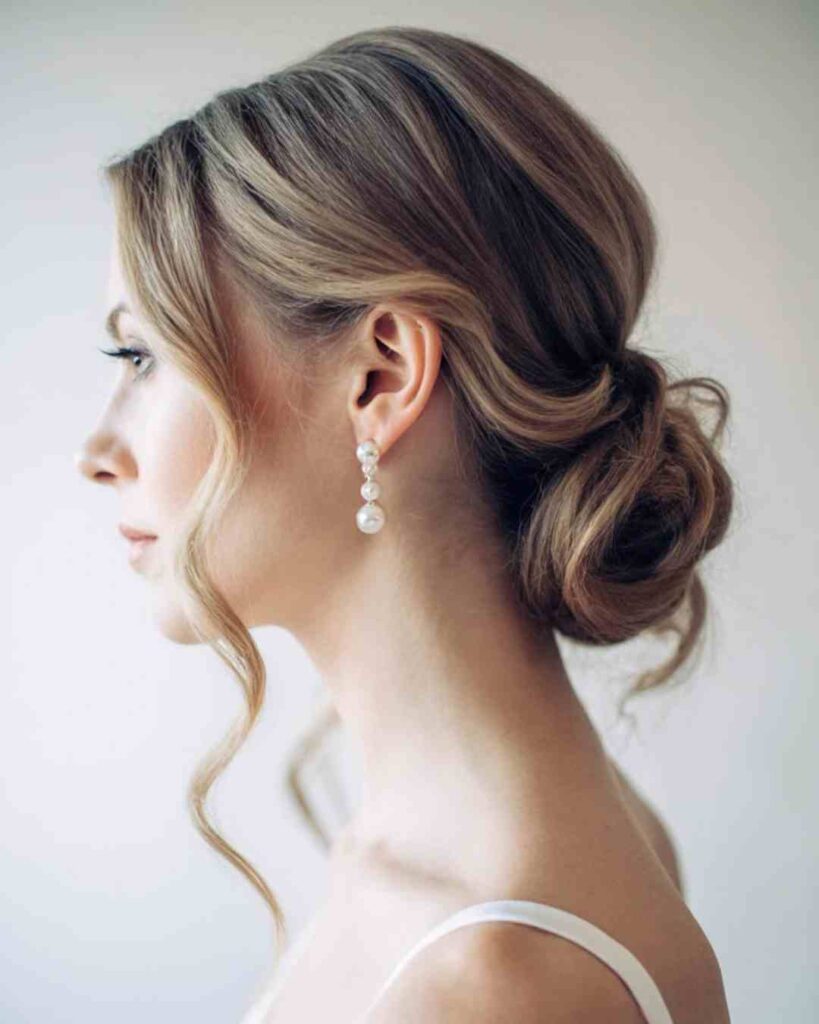
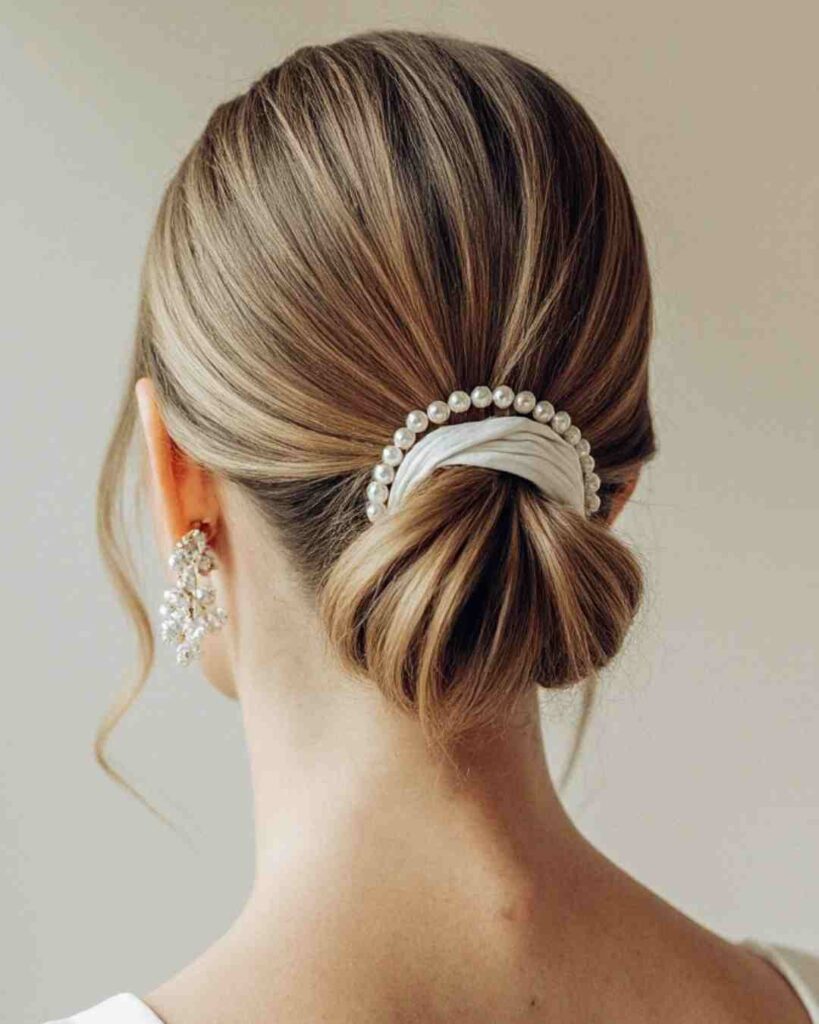
4. Sleek Low Updo
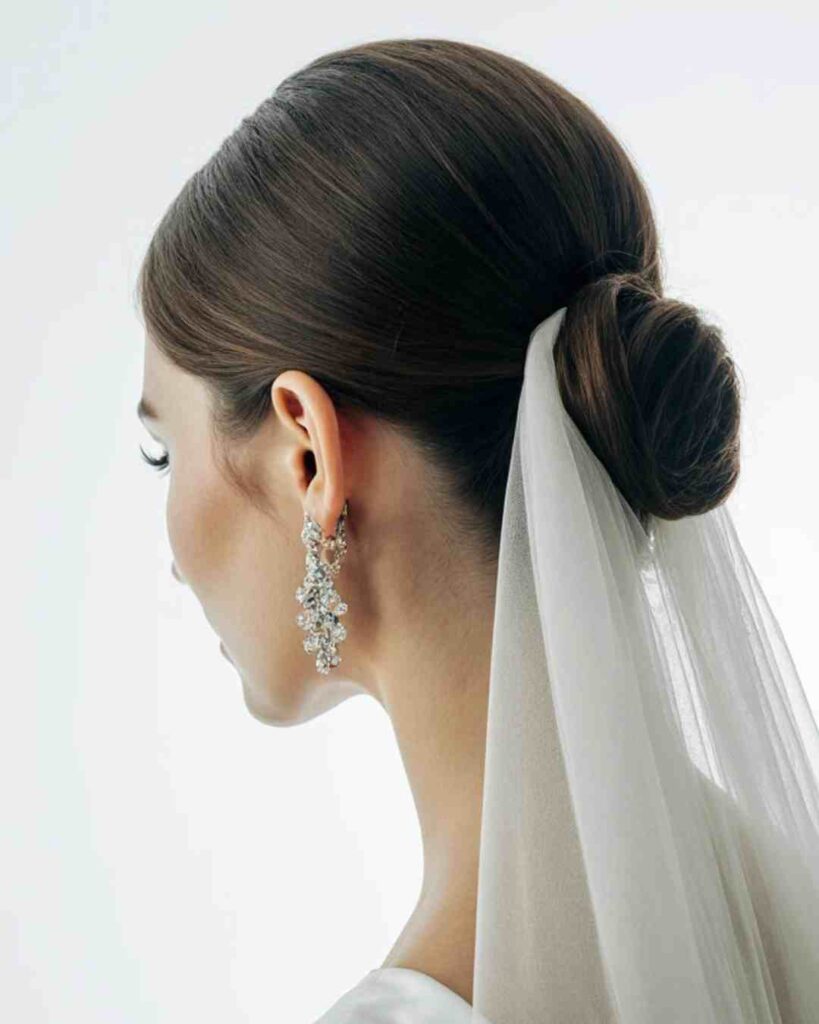
Brush everything smooth to the nape, wrap the ends, and seal flyaways with a light mist. Pair this with a long veil or statement earrings. Sleek styles signal intention, not flatness.
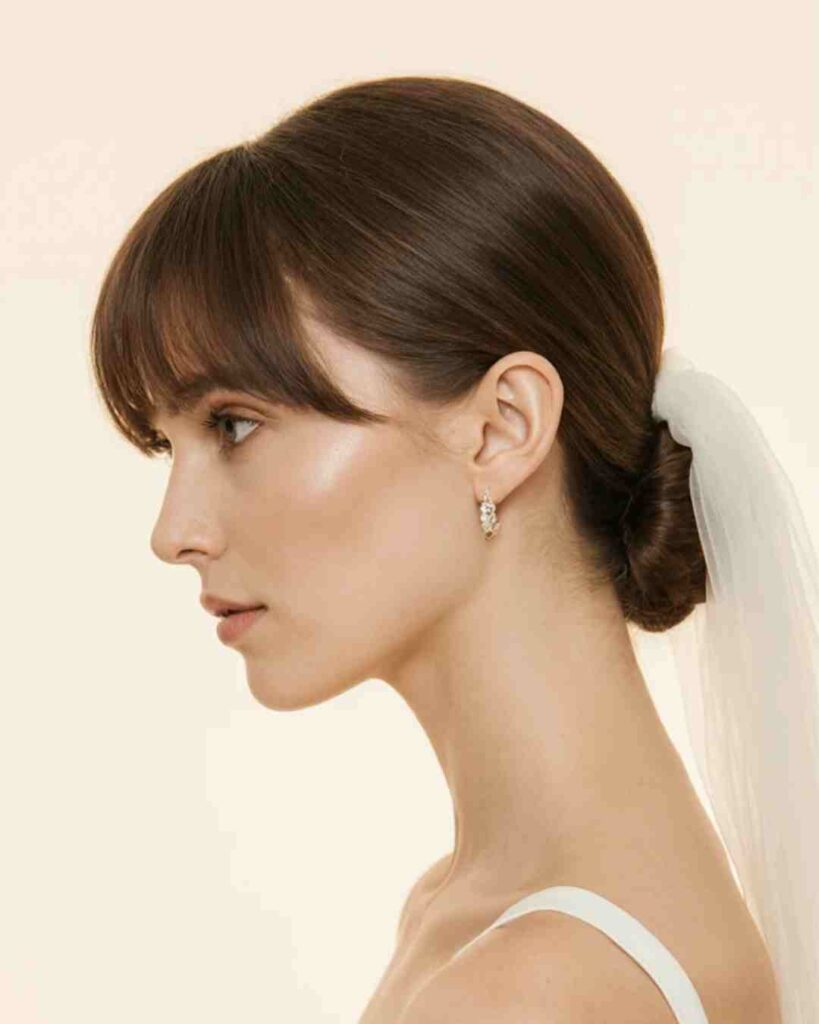
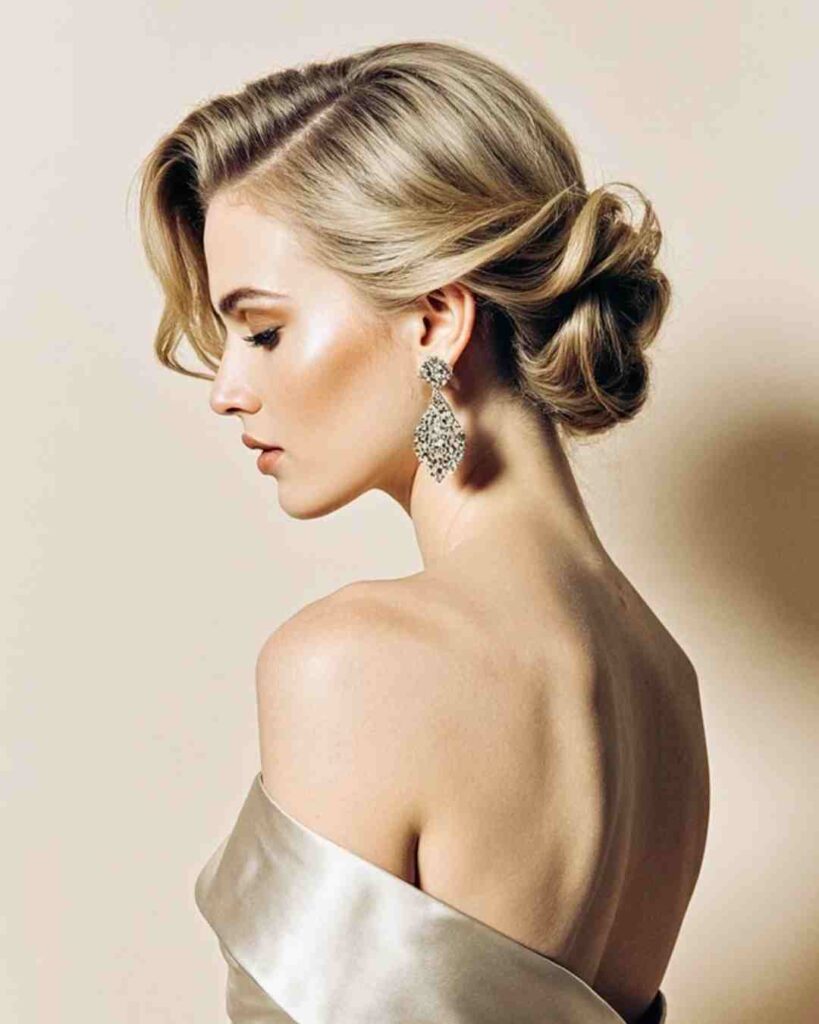
5. Polished Low Bun (Shine + Staying Power)
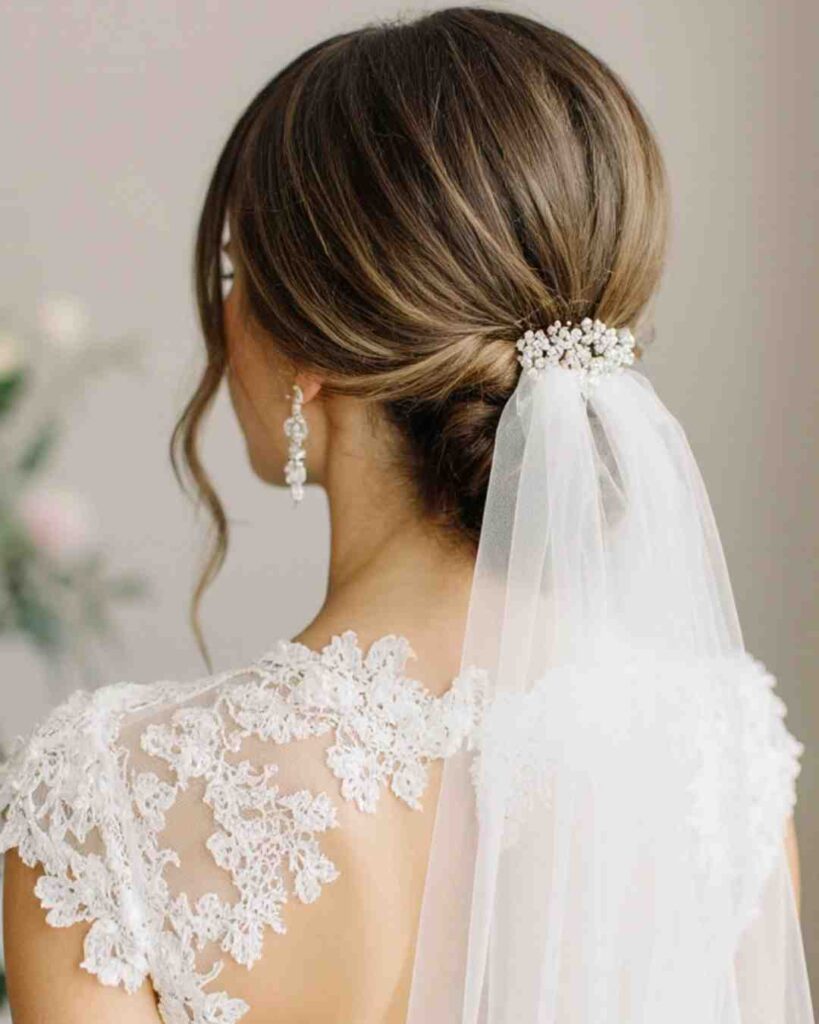
Wrap a compact bun and polish the surface, then pinch the crown for a hint of height. I love this for humid days because gloss beats frizz. You look classic from aisle to after-party.
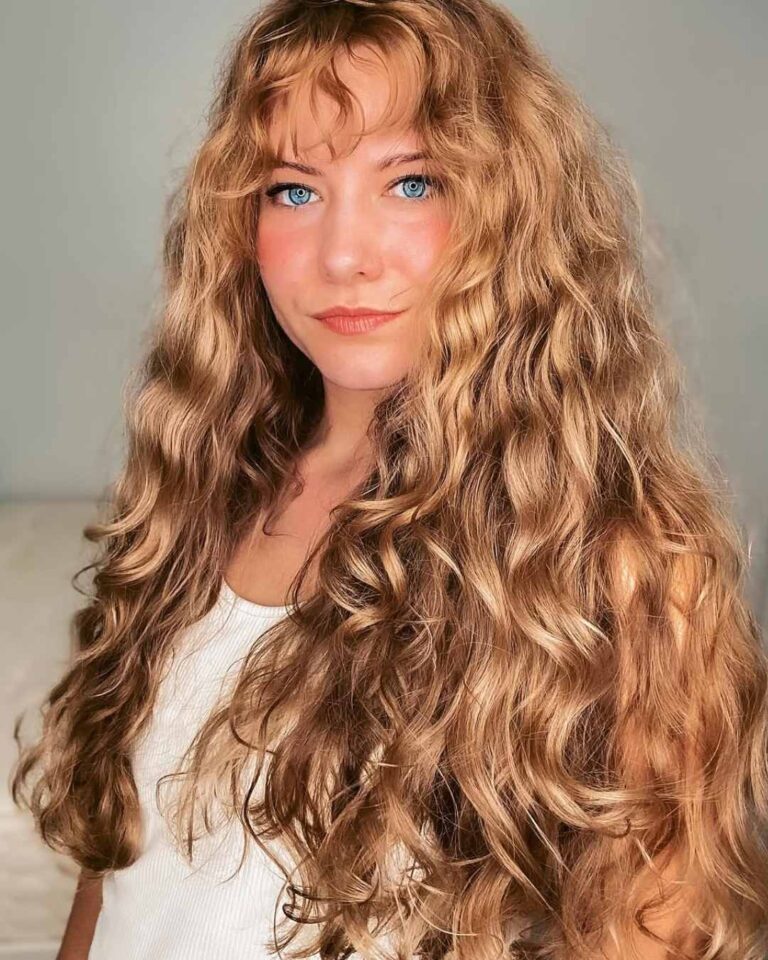
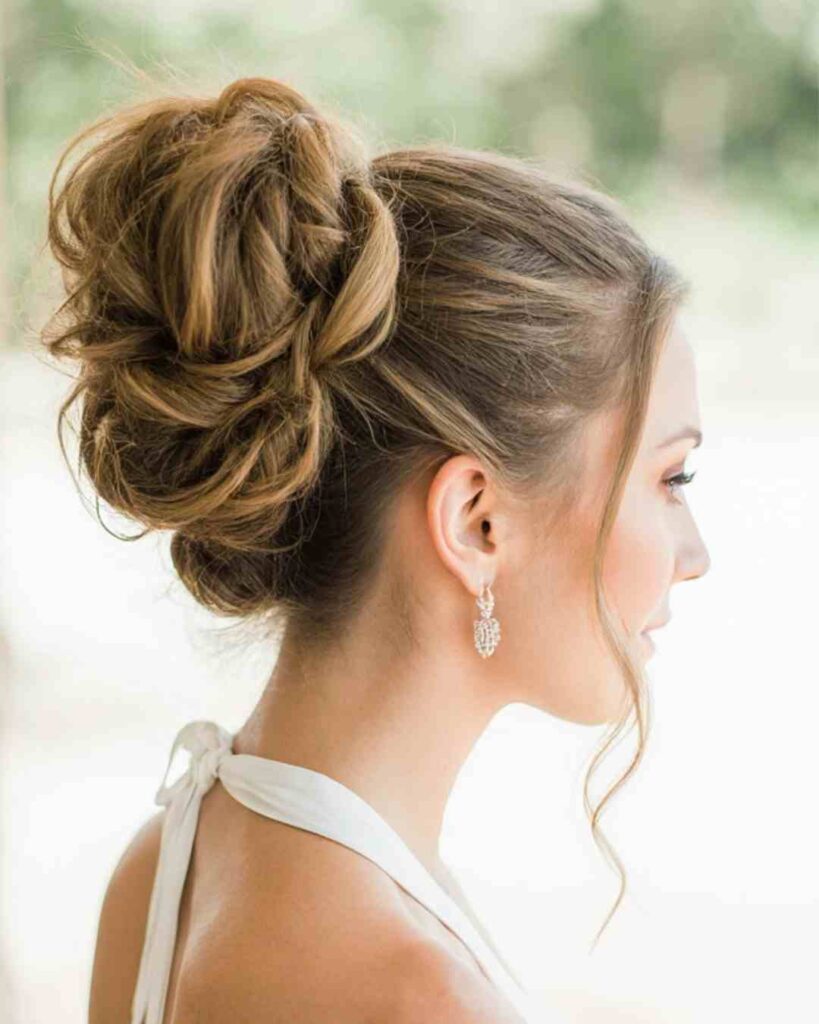
6. Loose, Low-Maintenance Waves
Build soft S-waves, then rake fingers through for width. Tuck behind one ear to show earrings and keep everything effortless. Clip one weft at the crown if you want extra density.
7. Half-Up Beachy Waves
Twist two side sections back and secure them over hidden wefts. The half-up anchors your crown volume and the waves fill out the silhouette. You keep romance without fuss.
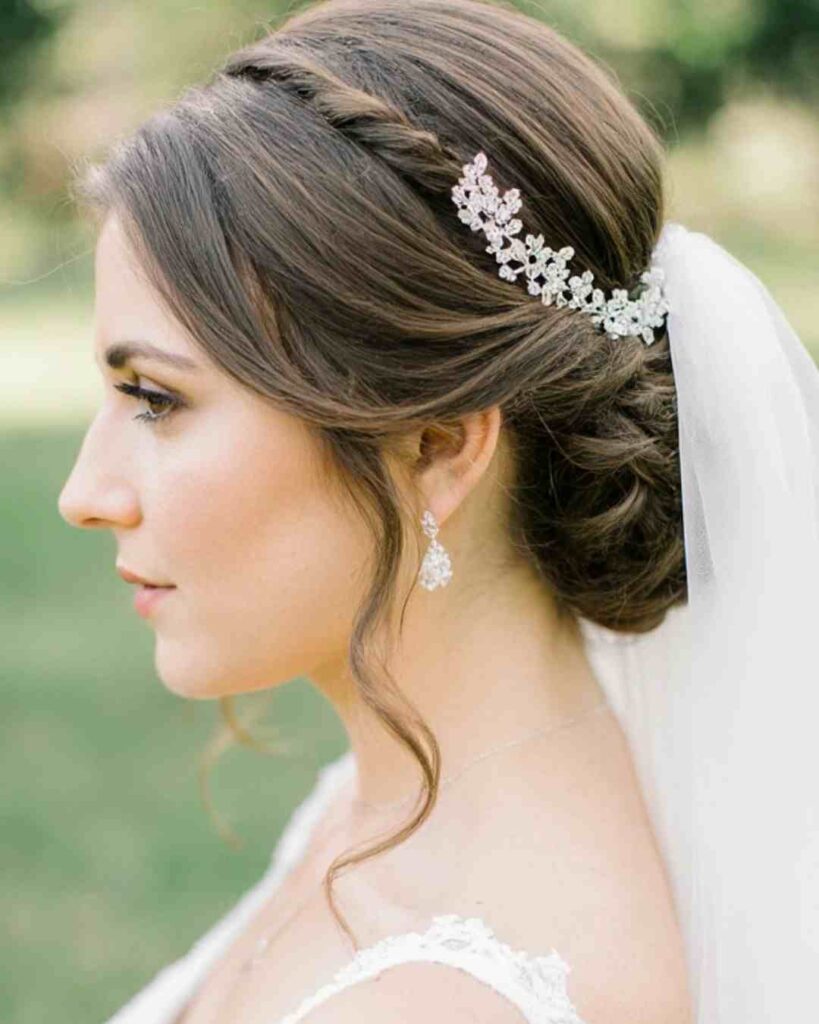
8. Low Updo + Statement Pin
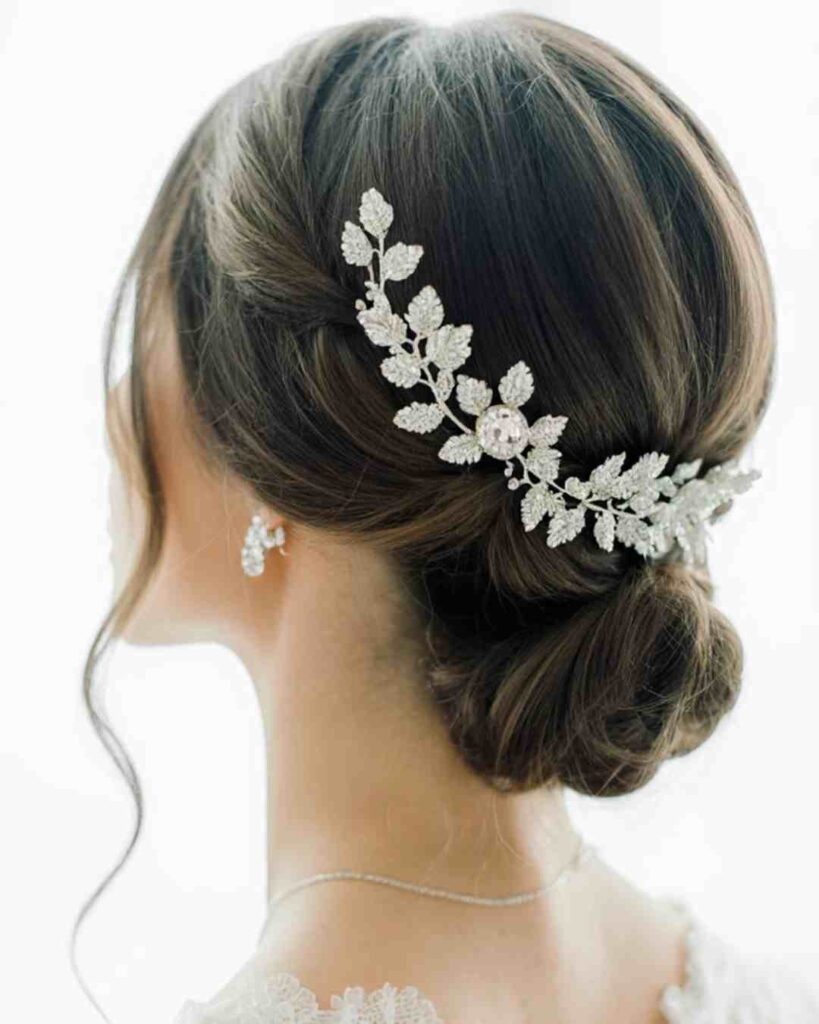
Keep the bun simple and let a jeweled comb or leafy barrette steal the scene. Accessories redirect the eye to the crown or side, which helps when you worry about thin spots.
9. Bubble-Braid Pony
Create a high pony, then place elastics down the length and puff each bubble. I tease the base lightly for lift. This pony reads playful and photographs thicker than it is.
10. Signature Sleek Bob
Honor your bob and sharpen the part slightly off-center. I run a flat iron for glassy shine and tuck one side behind the ear. Add a bow or a minimal slide for bridal-level polish.
11. Wavy Ponytail + Face-Framers
Tease the base, tie the pony, and curl the tail into wide S-waves. Pull two face-framing pieces forward for softness. You gain bounce without wearing hair on your neck all day.
12. Cropped Locs, Clean and Chic
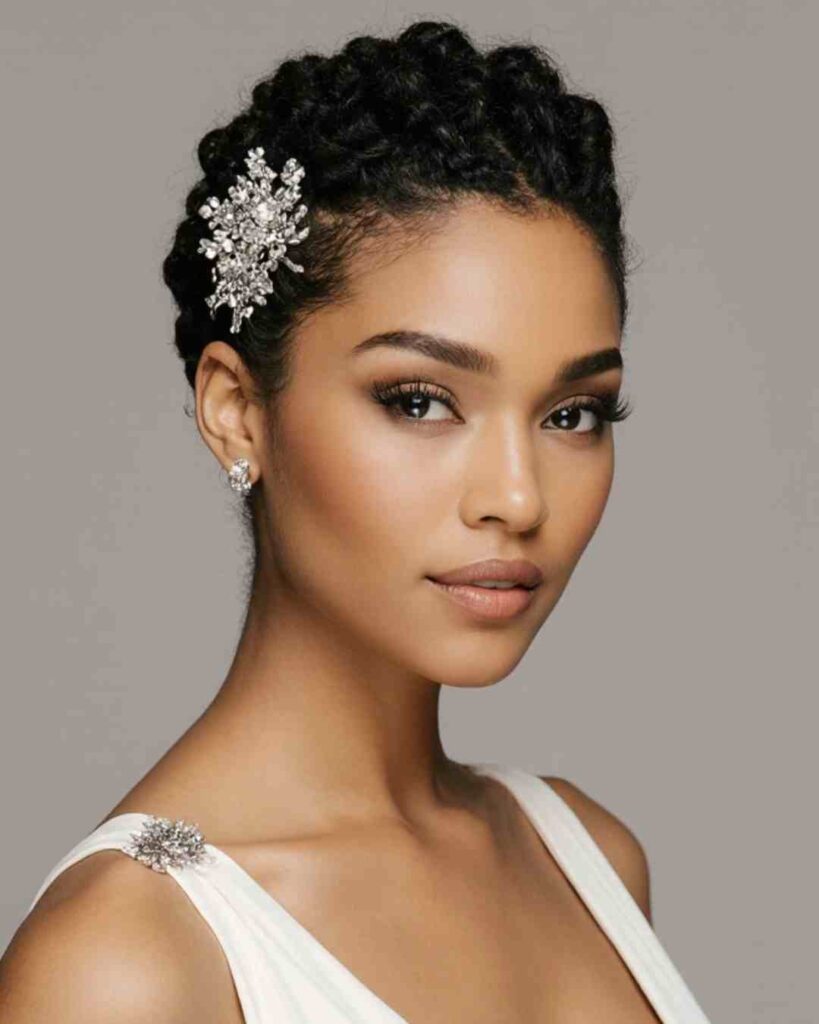
Shape your locs close, smooth the hairline, and pin a few pieces for symmetry. Add a slim metallic cuff or pearl pin for gleam. You let texture lead and still keep a formal finish.
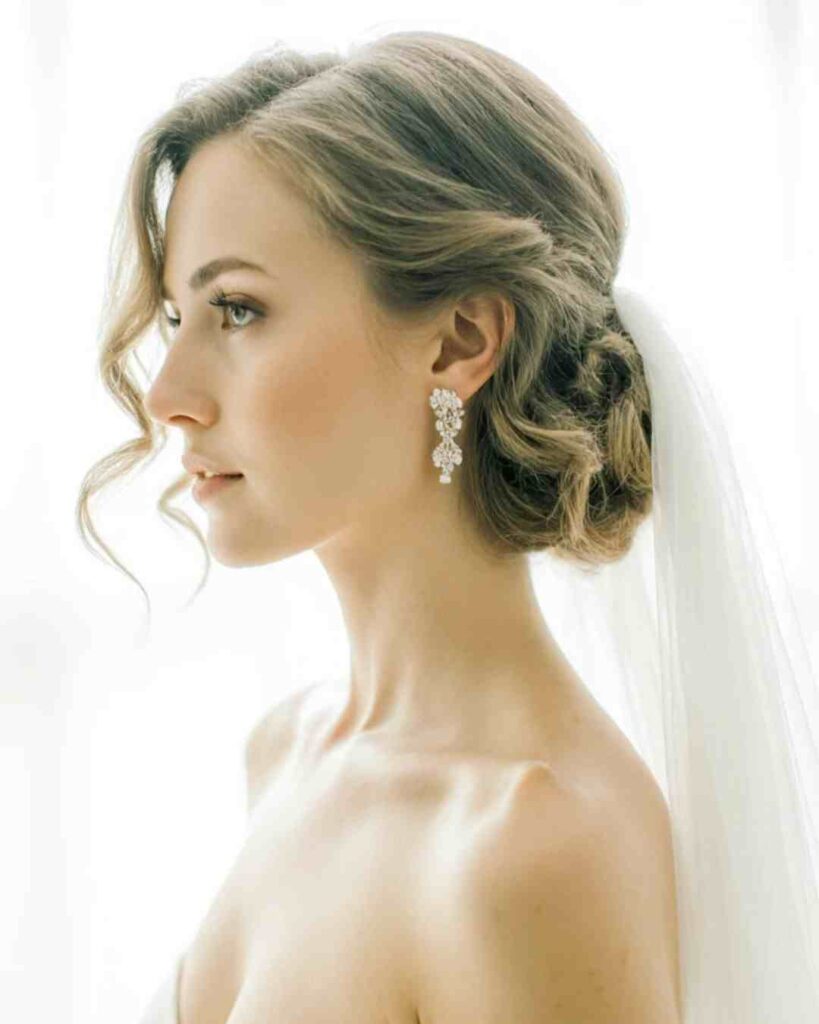
13. Twisted Low Updo (Airy + Secure)
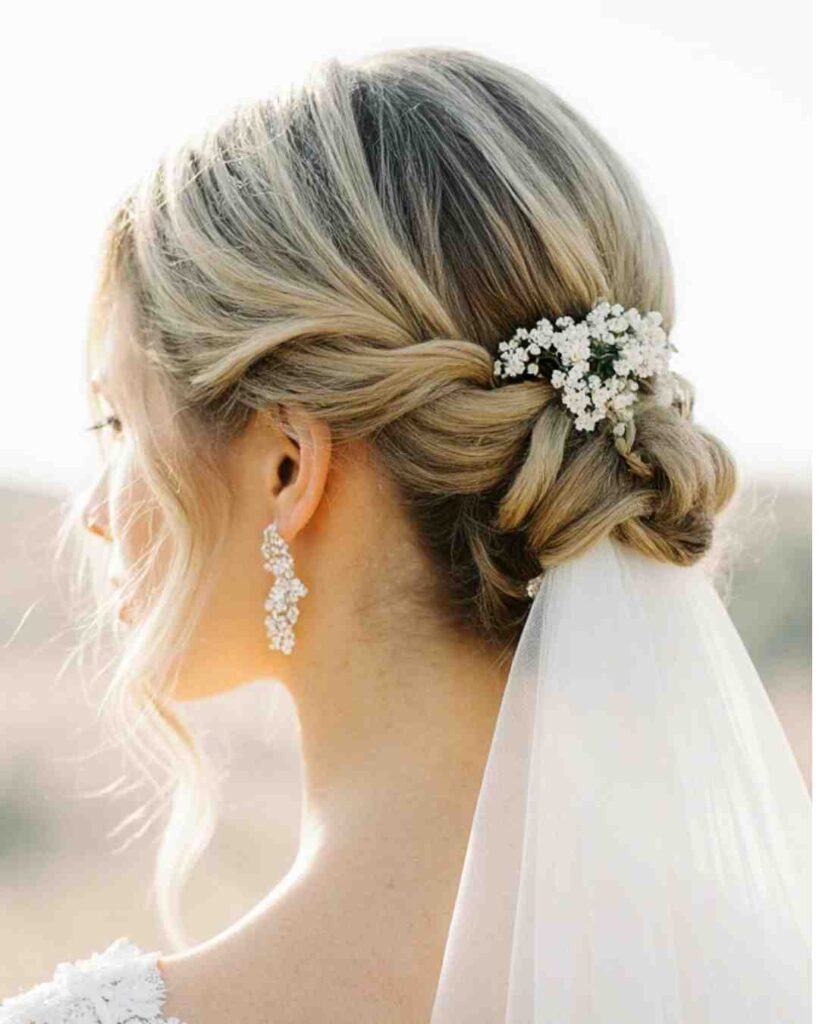
Twist sections at the nape, loop ends under, and pin loosely so the finish breathes. I pinch the crown to create lift that looks soft, not stiff. You lock security and keep romance.
14. Deep-Side Part Hollywood Waves
Create uniform waves and brush them into ridges. A deep part multiplies crown height and the wave pattern widens thin hair. Clip each ridge while it cools so the shape sets.
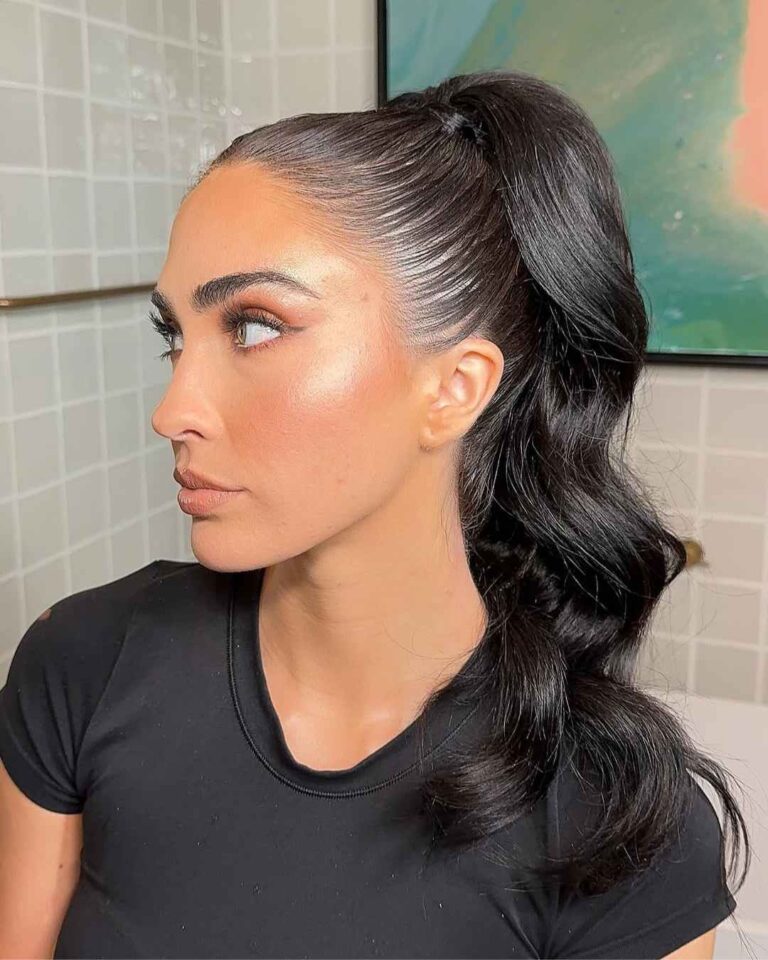
15. Sleek Ponytail (Wrapped Base)
Smooth hair back, tease the base, and wrap a strand around the elastic. I tap a bit of texture powder at the roots for grip. Add pearls along the part if you want runway energy.
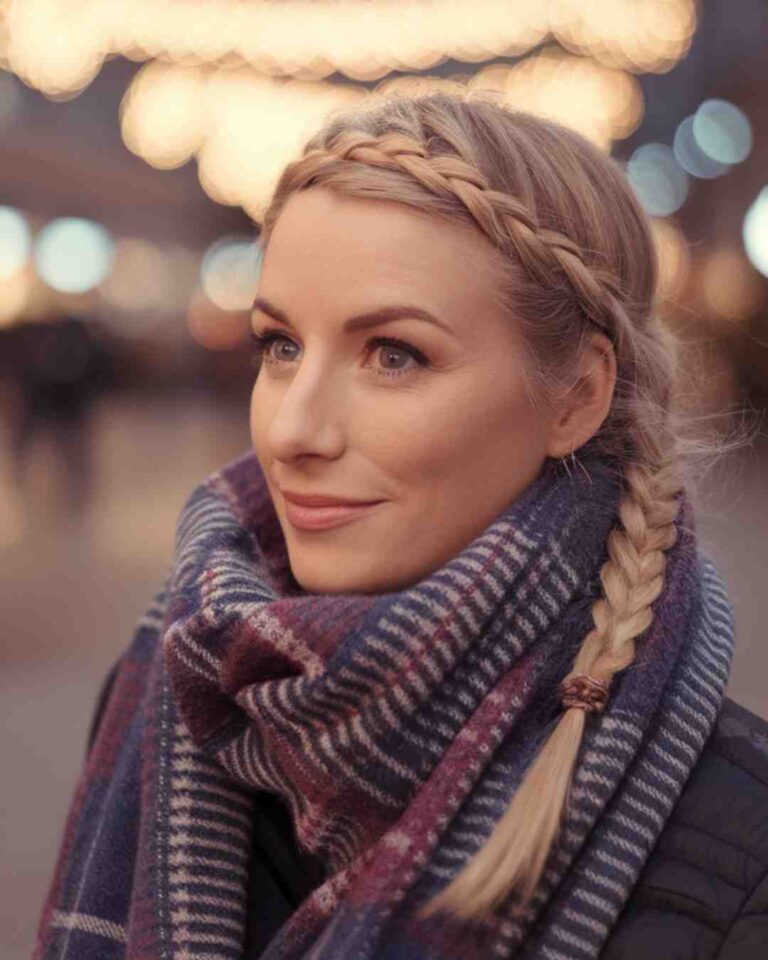
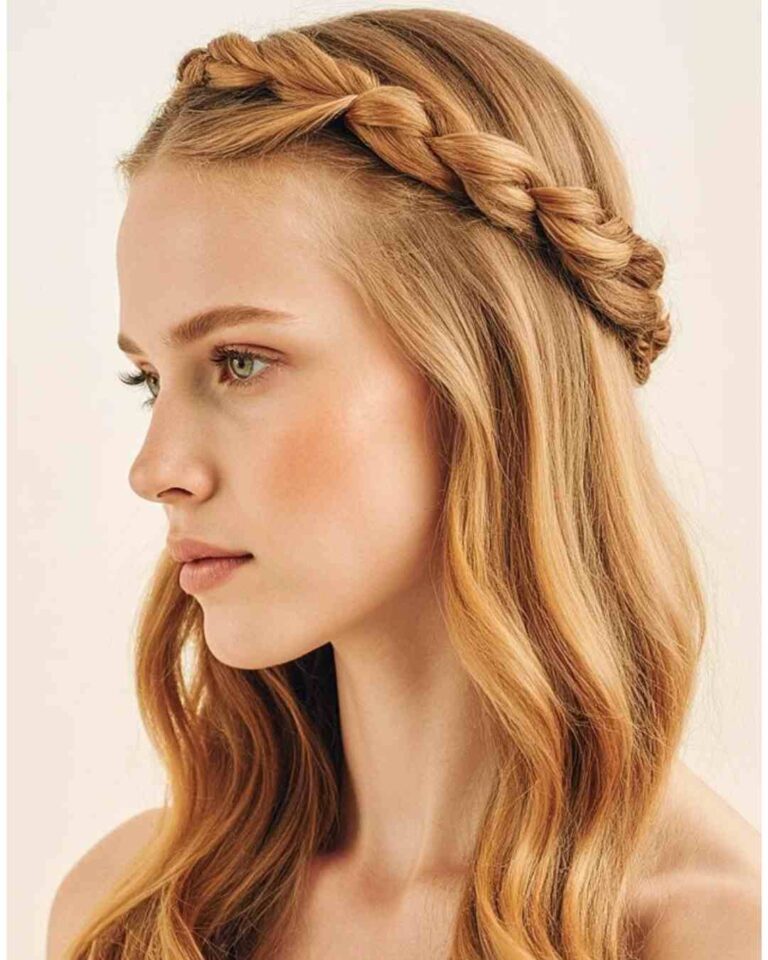
16. Braided Crown (Pancaked for Width)
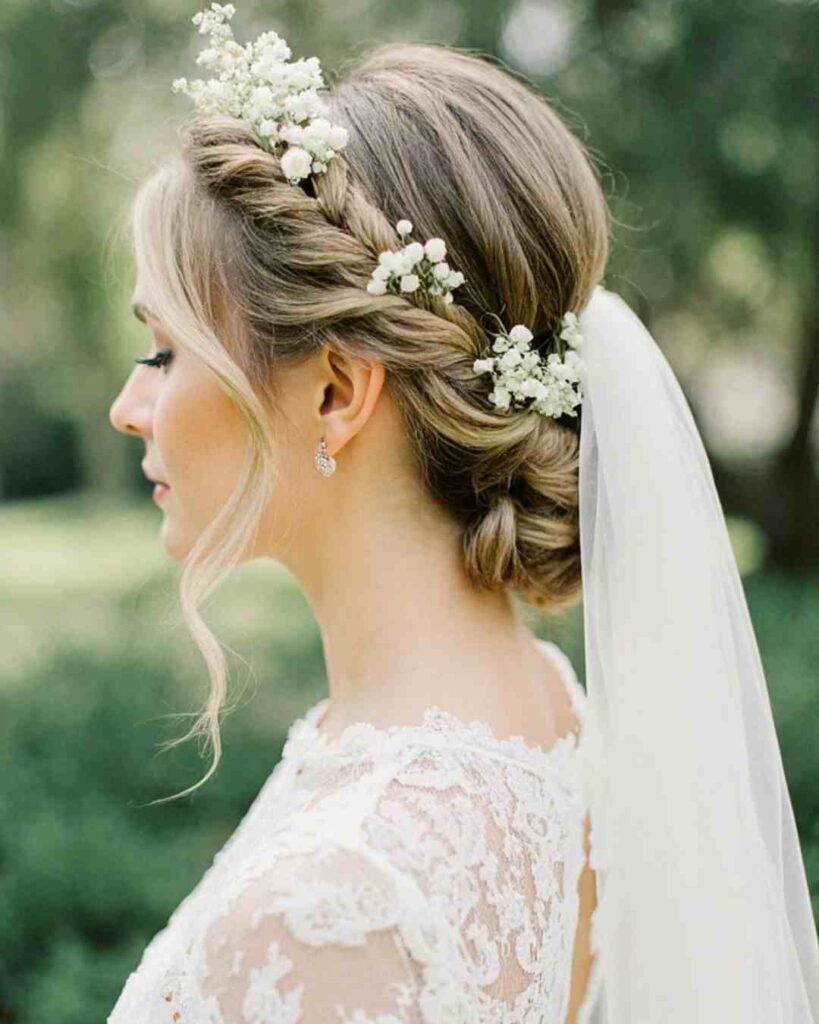
Braid two loose side plaits, wrap them around, and pancake the edges for twice the visual thickness. Tuck tiny florals or pins through. You frame your face and hide any scalp peek-through.
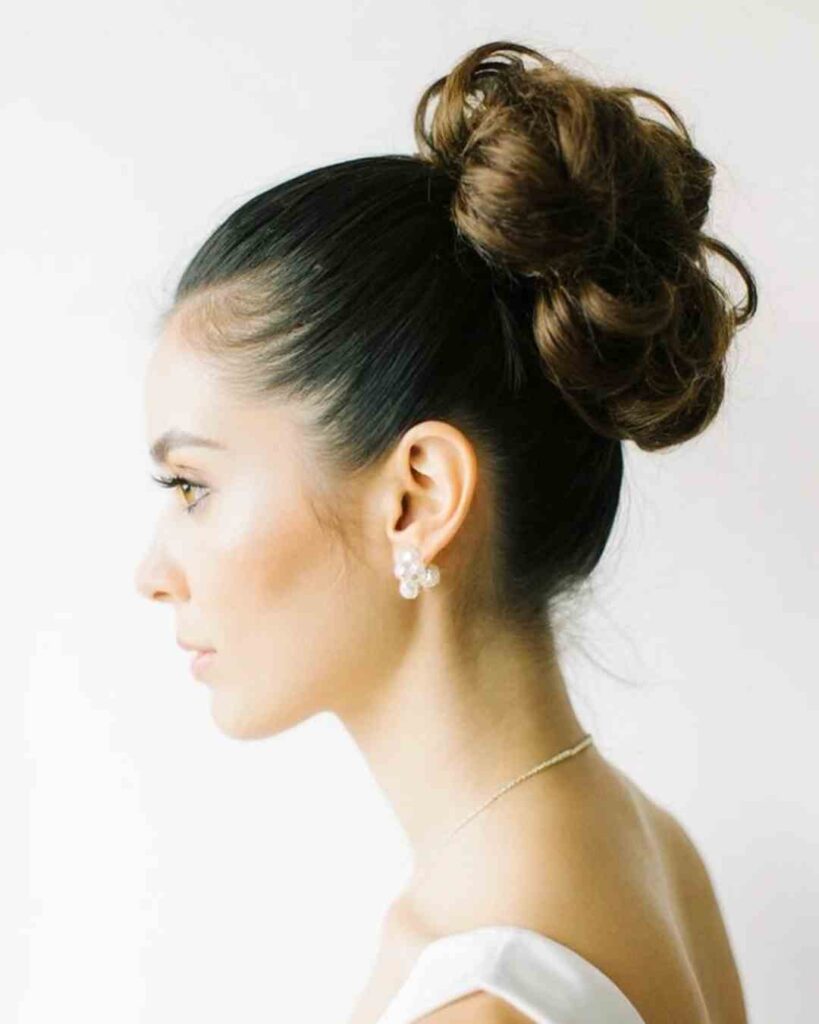
17. Textured Topknot
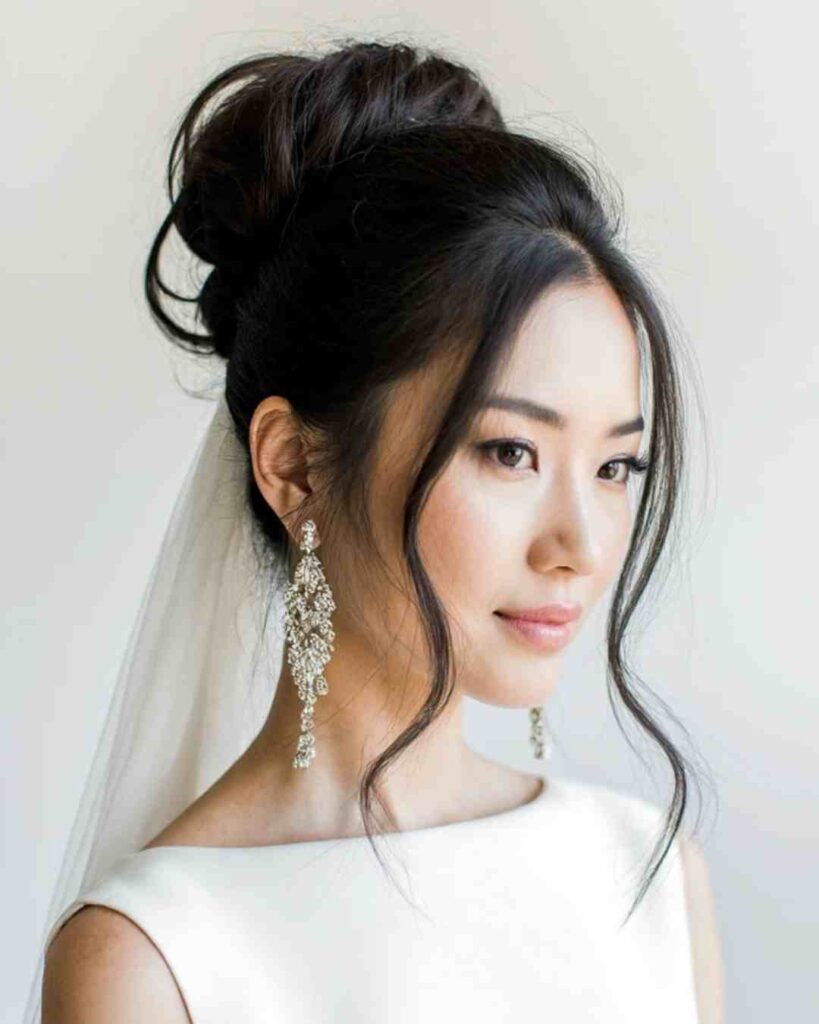
Gather everything high, tease the pony’s base, then wrap a soft bun and pin. The height elongates your silhouette and wispy edges keep the look airy. I love this with a short veil.
18. Voluminous High Pony (Double-Pony Trick)
Tie one pony high and one mid, then lay the top over the bottom. You stack bounce and add length without extensions. Magic? Nah—geometry.
Still deciding on your look? Explore our 22 Elegant Wedding Hairstyles for Your Dream 2025 Wedding to pair the perfect glam with your hairstyle.
Quick Extension Intel (Because Volume = Options)
Clip-ins or a halo lift thin hair fast. I color-match to your ends and choose multi-tone wefts for dimension. I place clip-ins below the crown section and blend with a few snips for a seamless fall.
What I recommend :
- Clip-ins: You target volume exactly where you need it and remove them after the party.
- Halo: You add length and soft fullness with minimal tension.
- Tapes: You commit for weeks; great for honeymoon hair, not essential for one day.
Golden rule: You keep the top layer thick enough to cover every attachment. You’ll never worry about a gusty exit shot.
Accessory Placement Tricks for Wedding Hairstyles for Thin Hair That Add Volume
Accessories build volume without extra teasing. You place them where you want the eye to land.
- Pins/combs: Break up strong part lines and sparkle at the crown.
- Headbands/tiaras: Sit them 1–2 inches back to fake height at the front.
- Veils: Anchor above or below your crown lift, not on top, so you protect volume.
- Bows/ribbons: Tie them at the pony base to widen the silhouette.
FYI: Matte hardware hides better in dark hair; soft metallics disappear in blondes.
Trial-Day Checklist (Steal This)
You want proof your hairstyle lasts, not hope.
- Bring front/side/back inspo of two to three styles.
- Say the brief clearly: “airy crown, soft texture, touchable finish.”
- Try padding or clip-ins during the trial, not on the wedding morning.
- Wear a white tee or robe to mimic dress contrast.
- Dance, hug, jump; time the hold. If it slides, add texture or tighten the pin map.
Pro move: Photograph under warm indoor light and daylight. You’ll catch flyaways and see how crown lift reads on camera.
FAQs You’ll Probably Ask
Do I need second-day hair? No. Thin hair often behaves better clean. Use dry shampoo on clean roots for grip.
Will extensions look obvious? Not when you color-match the ends, place wefts under the top layer, and blend with a few snips.
Can I wear a veil with crown height? Yes. Anchor the comb above or below the lift and avoid crushing your bump.
Does teasing wreck my hair? Not when you learn how to tease hair without causing damage and detangle with patience.
What if my style droops at the reception? Pack a mini brush, travel spray, pins, and texture powder. Twist one side back or lift the crown with a fingertip fluff. You save the look in seconds 🙂
Mini Shopping List (What Actually Works)
- Volumizing shampoo + light conditioner for a clean, airy base.
- Root-lifting spray + mousse for guts and structure.
- Heat protectant so the blowout and waves stay healthy.
- Dry texture spray for grip and expandable volume.
- Flexible-hold hairspray to lock shape without stiffness.
- Dry shampoo (on clean hair) for lift at the crown.
- Tiny crown pad (optional) for stealth height.
- Matte bobby pins + clear elastics for invisible security.
Core tip: Use light layers of everything. Thin hair hates goop and loves air + texture.
The Takeaway
You don’t need heavier hair; you need smarter architecture. Build lift at the crown, choose styles that add width and surface texture, and place accessories where you want focus. I watch thin hair transform the moment we shift the part, pop in a small pad, or slide two clip-ins under a half-up. That’s not luck; that’s strategy.
Pick three styles from the list, book your trial, and own a clear brief. Ask for airy height, touchable texture, and a pin map that survives hugs and the dance floor. When you catch your reflection and see a crown that loves the camera, you’ll know you nailed it—volume, balance, and you. And if you want a last pep talk, I’m here rooting for your roots, always. (Also, save a slice of cake for your stylist)
👉 Save this guide to revisit anytime during your wedding planning journey!